Want to make your yard really pop after dark? Landscape lighting isn't just about making things look pretty; it's about safety, security, and getting more use out of your outdoor spaces. I've seen a lot of lighting setups around Missoula, some great, some… not so much. Let's talk about how to do it right.
Before You Start: Planning Your Outdoor Lighting
Don't just go buying a bunch of lights and sticking them in the ground. You'll regret it, trust me. Planning is key here. Think about what you want to achieve. Are you highlighting a beautiful old Ponderosa pine? Lighting a path so no one trips on that uneven paver by the back door? Or maybe you want to create a cozy atmosphere on your patio?
Here's what you need to consider:
- Function First: What's the main reason you need light? Path lighting, accent lighting, security lighting, or task lighting for a grill area all have different requirements, after all.
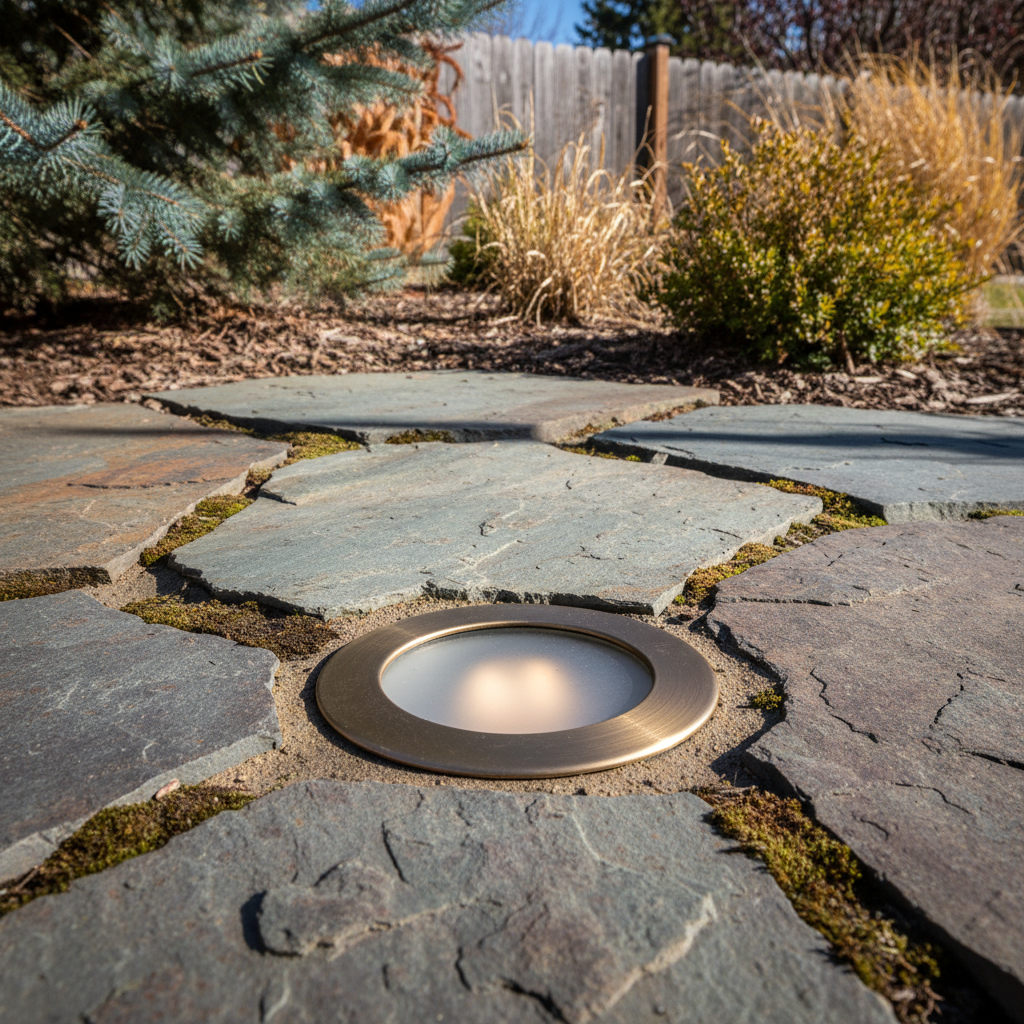
- Fixture Types: There are tons of options. Spotlights give focused beams, floodlights offer broader coverage, then you have path lights, well lights (recessed into the ground), step lights, and even underwater lights for ponds. Each one has its own job.
- Placement: This is where a lot of DIY projects go wrong. You want to avoid glare. Lights should show off what you want to see, not blind you. Think about mounting lights low to wash walls or plants, or up high in trees to create a moonlighting effect. Walk around your yard at night with a flashlight and imagine where you'd want light.
- Power Source: Most landscape lighting is low-voltage (12V), which is safer and easier for homeowners to install. It requires a transformer that plugs into a standard outdoor GFCI outlet. High-voltage (120V) is more complex and usually needs a licensed electrician.
- Budget: Good lighting isn't cheap, but it's an investment. Figure out what you can spend and prioritize. You can always add more later.
DIY or Pro? Knowing Your Limits
This is where I see a lot of folks get into trouble. There's definitely stuff you can do yourself, and then there's stuff that's better left to someone who does this all the time.
What You Can Probably DIY:
If you're comfortable with basic electrical work and following instructions, you can usually handle a simple low-voltage system. This means installing the transformer, running the low-voltage wire (it's often direct burial rated, so you can just lay it on the ground or bury it a few inches deep), and connecting the fixtures. It's a lot like putting together a big LEGO set. You'll need a shovel, wire strippers, and maybe a multimeter to test connections.
For example, running a few path lights along a sidewalk or highlighting a couple of shrubs in your front yard in the Rattlesnake neighborhood? That's probably a good DIY project. The wire doesn't need to be buried super deep, and the connections are usually straightforward.
When to Call Missoula Landscaping Company (or another pro):
Look, I'm all for saving a buck, but some things just aren't worth the headache or the risk. You should definitely call a professional if:
- You're dealing with 120V: Any line-voltage outdoor wiring needs to be done by a licensed electrician. Period. Don't mess with it.
- Complex Designs: If you've got a big yard, lots of different features to light, or you're trying to achieve specific effects like washing a large wall or integrating lights into a deck, a pro will know how to get the best results without creating a light show that annoys your neighbors.
- Troubleshooting: If your DIY system isn't working right after you've checked all the obvious stuff (loose connections, bad bulbs), a pro can diagnose it much faster.
- Integrating with Smart Home Systems: Want to control your lights from your phone, set schedules, or link them to motion sensors? A pro can set up the right controllers and integrate everything.
- Long-term Reliability: We know the best fixtures that will stand up to Missoula's harsh winters and hot summers, and we know how to install them so they last.
During Installation: Tips for Success
If you're going the DIY route, here are a few pointers:
- Test Everything: Before you bury any wires or permanently mount anything, lay out all your lights and connect them. Plug in the transformer and make sure every light works. It's way easier to fix a problem when everything's accessible.
- Bury Wires Safely: Even low-voltage wire should be buried a few inches deep to protect it from lawnmowers, shovels, and pets. Use a trenching shovel or edger.
- Waterproof Connections: Use waterproof wire connectors (often gel-filled) to prevent corrosion, especially with our wet spring and fall weather.
- Don't Overload Your Transformer: Each fixture has a wattage. Add up the total wattage of all your lights and make sure it doesn't exceed 80% of your transformer's capacity. This leaves room for future additions and prevents burnout.
- Aim for Subtlety: Good landscape lighting isn't about blasting light everywhere. It's about creating depth, shadows, and highlighting key features. Less is often more.
After the Project: Maintenance Matters
Once your lights are in, you're not totally done. A little maintenance goes a long way to keeping them looking good and working properly.
- Clean Fixtures: Dust, dirt, and hard water can build up on lenses, dimming the light. Wipe them down periodically.
- Trim Foliage: Plants grow! Make sure branches and leaves aren't blocking the light or growing into the fixtures.
- Check Connections: Occasionally inspect wire connections for corrosion or damage.
- Replace Bulbs: Even LED bulbs will eventually fail. Keep spares on hand.
- Adjust as Needed: As your landscape matures, you might need to adjust the aiming of your lights to keep things looking good.
Done right, landscape lighting can totally transform your yard. It's a project that adds value, curb appeal, and enjoyment to your Missoula home. If you're feeling overwhelmed or just want it done right the first time, give Missoula Landscaping Company a call. We're happy to help you design and install a system that fits your needs and budget.